DIY Fringe Curtains: Adding Texture and Charm
11xplay online, gold365 com, skyfyer: In the world of interior design, adding texture and charm to a room can make all the difference. One way to achieve this is by incorporating fringe curtains into your space. Fringe curtains not only add a touch of whimsy and personality, but they also bring a unique tactile element that can elevate the overall aesthetic of a room.
If you’re looking to spruce up your space with some DIY fringe curtains, you’re in luck! In this blog post, we’ll guide you through the process of creating your own fringe curtains to add texture and charm to your home.
Choosing the Right Fabric and Fringe
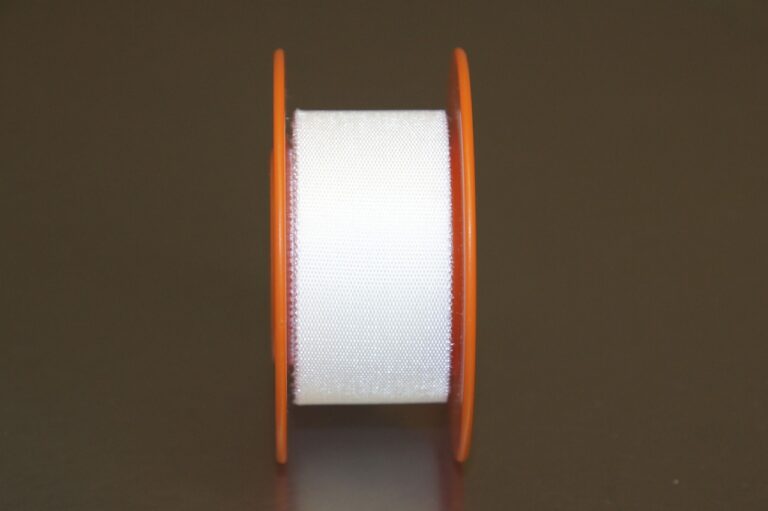
The first step in creating your DIY fringe curtains is selecting the right fabric and fringe. When choosing fabric, consider the overall aesthetic of your space. If you’re going for a more bohemian look, opt for a lightweight, flowy fabric like chiffon or sheer cotton. For a more luxurious feel, consider a heavier fabric like velvet or brocade.
Next, choose the fringe that complements your fabric choice. Fringe comes in a variety of styles, from tassels to pom-poms to metallic threads. Consider the vibe you’re going for do you want something playful and fun, or more sophisticated and elegant?
Measuring and Cutting Your Fabric
Once you have your fabric and fringe selected, it’s time to measure and cut your fabric to the desired length. Measure the height of your window or door where the curtains will hang, and add a few inches to account for hems and fringe.
Using fabric scissors, cut your fabric to the desired length. Be sure to cut straight lines to ensure your curtains hang evenly once finished.
Attaching the Fringe
Now it’s time to attach the fringe to your curtains. Lay your fabric flat on a table or flat surface, and position your fringe along the edge of the fabric where you want it to hang. Using a needle and thread or fabric glue, secure the fringe to the fabric. Be sure to attach the fringe evenly along the edge of the fabric for a polished look.
Allow the glue to dry completely before moving on to the next step.
Hemming the Curtains
Once the fringe is attached, it’s time to hem your curtains. Fold over the edges of the fabric to create a clean hem, and secure it in place with a sewing machine or fabric glue. Hemming your curtains will give them a finished look and prevent fraying over time.
Repeat this step on all sides of the fabric to ensure your curtains are well-constructed and durable.
Hanging Your Fringe Curtains
With your fringe curtains complete, it’s time to hang them in your space. Install a curtain rod above your window or door, and simply slide the curtain panels onto the rod. Adjust the panels as needed to achieve the desired fullness and length.
Once your fringe curtains are hung, step back and admire your handiwork! The texture and charm they bring to your space will surely make a statement and add a touch of personality to your home.
FAQs
Q: Can I use pre-made curtains and add fringe to them?
A: Absolutely! If you already have curtains that you love but want to add some fringe for a custom touch, you can easily attach fringe to the edges using fabric glue or a sewing machine.
Q: How do I clean fringe curtains?
A: To clean fringe curtains, gently shake out any dust or debris, and spot clean as needed. For a deeper clean, you can hand wash or machine wash your curtains on a gentle cycle. Be sure to air dry them to prevent any damage to the fringe.
Q: Can I use different lengths of fringe on the same curtain?
A: Mixing and matching different lengths of fringe can create a fun and eclectic look. Just be sure to attach the fringe evenly along the edge of the fabric to maintain a cohesive design.
In conclusion, DIY fringe curtains are a simple and affordable way to add texture and charm to any space. With just a few materials and some creativity, you can create custom curtains that reflect your personal style and elevate the overall aesthetic of your home. Give this project a try and see how fringe curtains can transform your space!